
Check a cigar hygrometer in a known humidity reference, let the sealed test stabilize, and compare its reading with the reference value. Adjust the instrument if its instructions allow, or record a correction. Re-test afterward. A nominal 75% calibration kit checks the instrument; it does not set your cigar storage target.
Calibration and adjustment are different jobs
Vaisala distinguishes calibration from adjustment. Calibration compares a measurement with a known reference. Adjustment changes the instrument's response. You can perform a useful check even when a simple hygrometer has no adjustment button.
That distinction prevents a common mistake: setting a display to the number you want before establishing the actual test conditions. A changed display is only evidence of an adjustment. The subsequent comparison tells you whether the result is useful.
| Action | What it establishes |
|---|---|
| Compare with a reference | The observed error under those conditions |
| Apply an adjustment | A change to the instrument or app |
| Repeat the reference check | Whether the adjusted reading agrees |
| Return to storage | Conditions at the sensor's operating location |
Choose a reference with clear instructions
Boveda's calibration instructions specify its nominal 75% RH kit, at least 24 hours sealed, and a room temperature of 65–75°F. Use that procedure for that kit. Other reference products and instruments may specify different conditions.
Boveda says its preloaded reference pack remains accurate for up to three months after first use. Replace that pack before reusing the bag beyond this period. A six-month instrument check therefore needs a fresh reference; keeping the old bag does not extend the pack's usable life.
Read your hygrometer's manual before starting. Identify whether it supports an offset, a dedicated calibration mode, or no adjustment at all. Check the battery and verify that its measurement range includes the chosen reference value.
The humidor is not your reference standard
A humidity pack's label does not prove that the surrounding humidor air already equals that value. Testing the sensor in a controlled reference enclosure separates the instrument check from the storage system. Otherwise, an enclosure problem and a measurement error remain tangled together.
Keep cigars out of the calibration test. This is an instrument procedure, not a seasoning or recovery chamber. Use the reference package as directed instead of adding cedar, extra water, or another humidification product to improve the number.
Set up the sealed test
Allow the kit and sensor to reach the same stable room conditions before starting. Vaisala's calibration application note explains that temperature differences between the reference and instrument introduce measurement error.
For the Boveda procedure, place the hygrometer in the supplied bag and close the zipper completely. Set it somewhere away from direct sunlight, a radiator, or an air-conditioning outlet. Leave it undisturbed for the instructed period.
- Record the reference product and its nominal RH.
- Note the test start time and room temperature.
- Check that the closure is fully sealed.
- Keep the sensor positioned so you can read it without opening the bag.
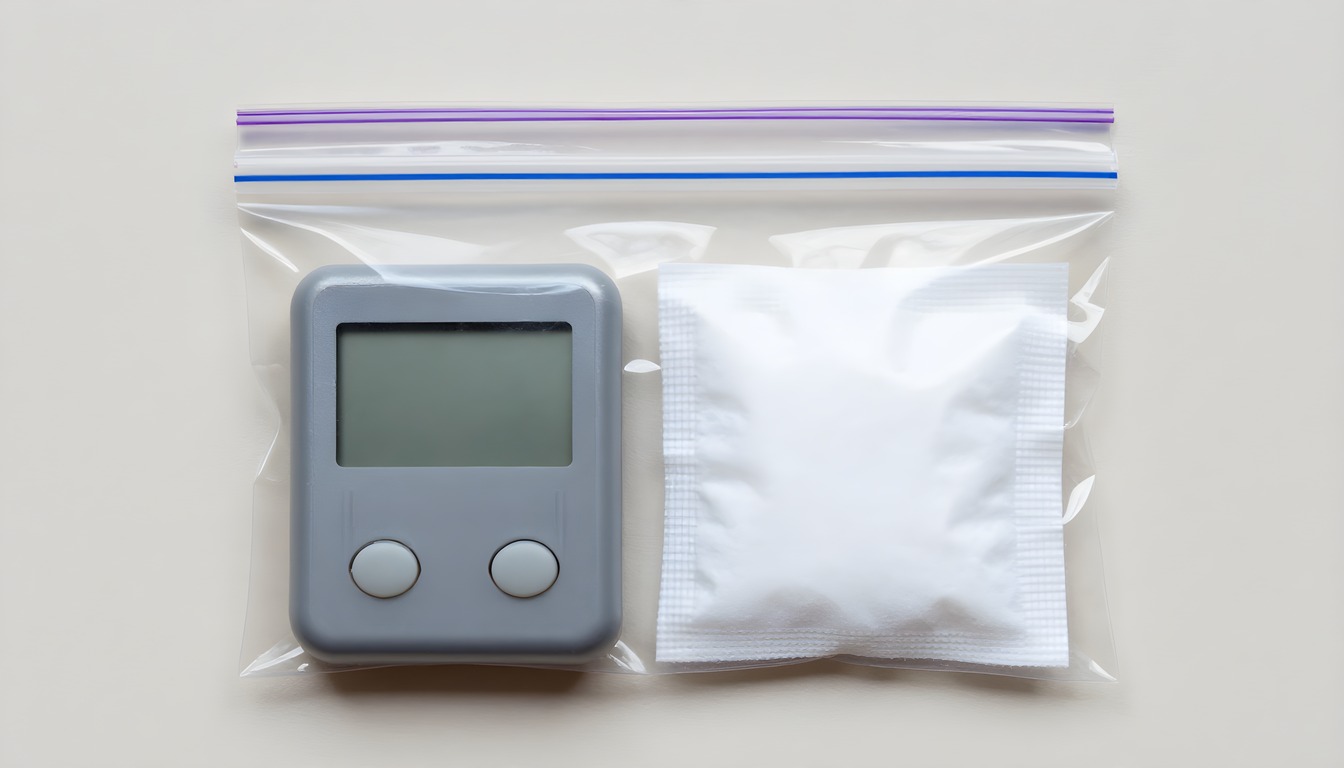
Locally generated editorial illustration of a sealed test; it does not document a completed calibration.
Read it while the enclosure is still closed
Record the result through the bag, or use the connected app if your sensor has one. Opening the bag before reading changes the test enclosure. If an adjustment requires opening it, follow the instrument's instructions and then reseal for another check.
The stated waiting period is a minimum for the specified procedure, not permission to ignore a drifting reading. If the display is still changing, keep conditions stable and seek the reference maker's guidance rather than selecting the reading closest to your expectation.
Calculate the direction before touching a setting
Use correction = reference RH − displayed RH. Here is a worked example, not a measurement from our equipment: a nominal 75% reference and a settled display of 72% produce a correction of +3 percentage points.
If the same assumed offset applied in storage, a display of 66% would be interpreted as approximately 69%. That final interpretation is conditional: a single check has not proved the error stays identical across every humidity and temperature.
| Reference | Display | Calculated correction |
|---|---|---|
| 75% RH | 72% RH | Add 3 percentage points |
| 75% RH | 78% RH | Subtract 3 percentage points |
| 75% RH | 75% RH | No observed offset at this point |
These are percentage points, not a percentage change to multiply into the display. Keep the arithmetic simple and write the sign down. Reversing it makes the apparent error worse while giving you a reassuringly precise number.
Avoid applying the correction twice
If you enter +3 in an app and its displayed RH already includes that correction, do not add another three mentally. Record where the correction lives: on the device, in the app, or only in your notebook.
Some controls use a different convention or set the display directly to the reference. Follow the exact manual rather than assuming every calibration field uses the same sign. After any change, repeat the sealed reference check and record the adjusted reading.
A one-point check has a one-point scope
Vaisala explains that one-point adjustment addresses offset, while two-point adjustment can address offset and gain. Even measurements between adjustment points need verification. A display that matches at 75% therefore does not certify the whole scale.
For ordinary humidor monitoring, the first benefit is catching a substantial error before responding to it. If accuracy near your operating conditions matters, ask the sensor maker about another reference check or a supported multipoint procedure.
Two sensors are useful, but agreement is not certification
Put both sensors in the same reference setup when its instructions and size allow. Compare them after the full waiting period. This is more informative than comparing readings taken on different shelves or immediately after opening the humidor.
Two matching readings could still share an error. Two different readings do not automatically make the newer or more expensive sensor correct. Compare each with the reference and its stated tolerance; do not average the displays and call the result a standard.
| Limit | What to retain in your interpretation |
|---|---|
| Reference tolerance | A nominal RH includes stated uncertainty |
| Display resolution | Whole-number readings cannot resolve every small difference |
| One-point check | Agreement here does not verify the full range |
| Reference lifetime | An expired pack cannot establish the intended reference |
Boveda's reference FAQ permits using other fixed-RH packs but recommends its calibration kit.
It states ±1 percentage point RH accuracy for ordinary packs and ±0.5 for its calibration formula. Record the reference tolerance alongside the sensor's specification; the nominal value is not infinitely precise.
It specifically excludes its 49% formula, which maintains a range. Follow the reference's specification rather than treating every pack as interchangeable.
What the salt test actually means
The scientific basis is a saturated salt solution at equilibrium in a closed environment. Greenspan's NBS paper, hosted by NIST, tabulates sodium chloride near 75% RH, with temperature-dependent values and uncertainty. It does not certify a kitchen preparation.
A casual mixture, a leaking bag, or inadequate stabilization is not equivalent to the controlled reference described in that work. Avoid calling a homemade test “exactly 75%,” especially when your display only reports whole percentage points.
Follow the exact instrument's supported method
XIKAR's current accessory guidance shows that its hygrometer models and battery types differ. Check your model's actual instructions. An old manual found for another XIKAR unit is not a reliable procedure for yours.
If your manufacturer supports a homemade salt test, follow its preparation and waiting instructions and keep liquid away from the sensor. If it does not, use a suitable supported reference. Never put a hygrometer directly into salt or water.
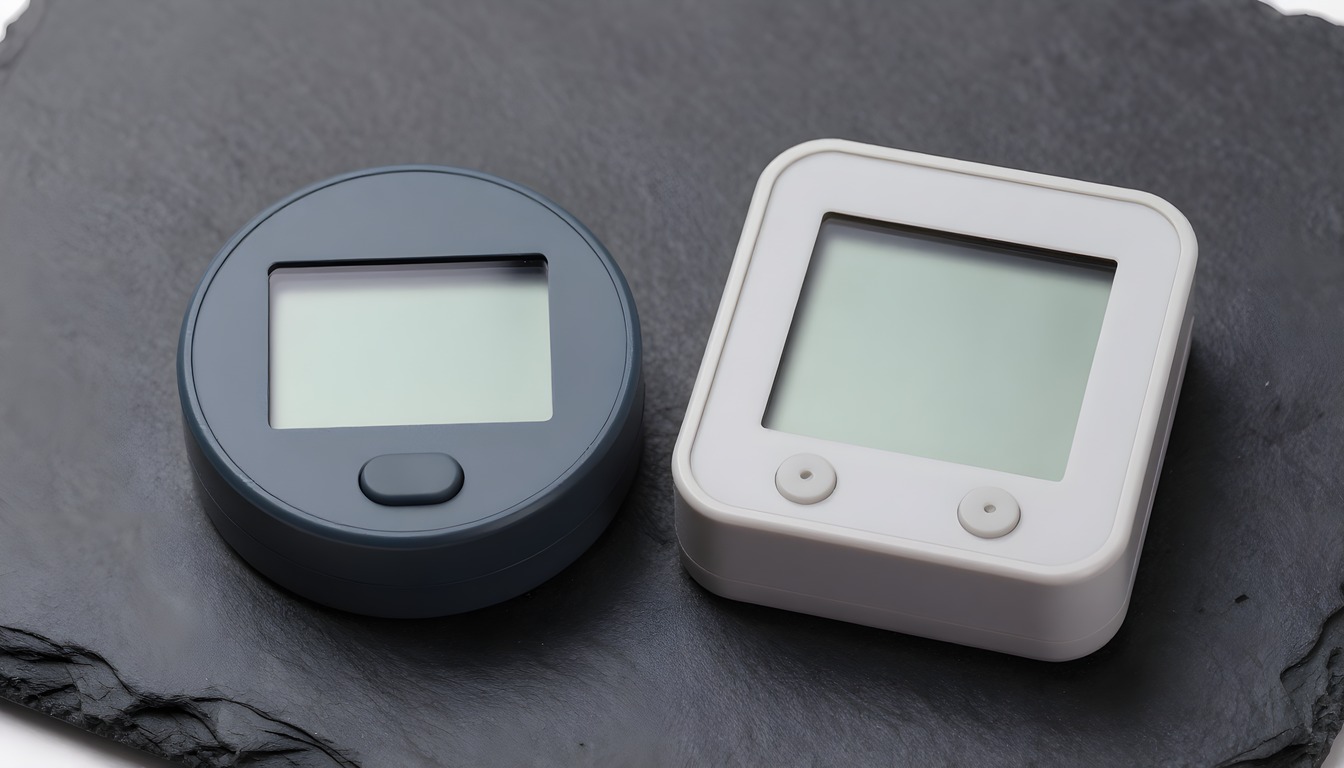
Locally generated editorial illustration of sensor comparison; matching or differing readings are not experimental evidence.
Return to the humidor with a repeatable routine
Choose a position representative of where your cigars sit, with the sensor openings unobstructed. Avoid pressing it directly against a humidifier. Record the location so the next reading is comparable, rather than moving it repeatedly until it displays your preferred number.
Close the enclosure and let the reading settle. Note recent opening, temperature changes, and any additions to the collection. A reading immediately after moving the instrument from its test bag is not a settled assessment of storage.
Use the humidor storage guide for enclosure care. Keep that work separate from the reference check: a correctly reading instrument can still report a real storage problem, and a sound enclosure can still contain a poorly reading instrument.
Resolve an unexpected storage reading in order
If the corrected instrument reports something surprising, first confirm that the stored correction is still active and applied only once. Check its battery and position. Compare the reading after the enclosure has settled, using your normal location rather than immediately after handling the sensor.
Separate an instrument failure from an enclosure problem
If the result remains suspect, repeat the supported reference check. A repeatable error against the reference points toward the measurement system. A sensor that still agrees with the reference gives you a reason to investigate the enclosure and humidification supply separately.
Check the closure, recent openings, and the condition and preparation of your humidity product. Do not add water simply to force the display toward a target. A short troubleshooting note should identify which check changed your understanding and what remains unexplained before you make another adjustment.
Keep a short calibration record
Boveda recommends checking new hygrometers and recalibrating every six months. Treat that as its maintenance recommendation. Recheck sooner when a reading becomes suspect, after a problem, or as the instrument maker directs.
| Record field | Example information to retain |
|---|---|
| Device | Exact model and individual identifier |
| Reference | Product, nominal RH, tolerance, and first-use date |
| Conditions | Start/end times and temperature |
| Result | Original reading, correction, and re-test |
A useful record can be one short note. Keep the unadjusted result as well as the final reading. If every check requires a larger correction, that history gives the maker something concrete to assess instead of another description of a troublesome humidor.
Frequently Asked Questions
Should I set my humidor to 75% after calibrating?
No. The kit's nominal 75% is a test reference, not a recommendation for your collection. Choose storage conditions separately using the cigar and enclosure guidance you follow. Calibration helps you interpret those conditions more reliably.
What if my hygrometer cannot be adjusted?
Record the difference and its direction. You can interpret readings with that correction near the checked conditions, while retaining the limits of a one-point test. Replace or service a device that is unstable or unsuitable rather than continually compensating for unexplained changes.
Can I skip the wait if it reaches 75% early?
Follow the full waiting period specified for your reference. Boveda instructs at least 24 hours for its kit. An early matching reading does not establish that the sealed system has stabilized.
Does calibration check temperature too?
An RH reference checks humidity under the stated temperature conditions. It does not independently calibrate the device's temperature measurement. If temperature accuracy is in question, follow the maker's separate procedure or compare with an appropriate temperature reference.